Pi Day That Became Pie Week

Pi Day was last week. Everybody knows Pi Day right? The day of the year that starts 3.14. That one.

Someone got really smart several years ago and named it that so we could all eat PIE on that day. I think that person is brilliant. I love pie.

My office decided to celebrate Pi Day by having Pie Week. Everyone was invited to bring in items to share. The only real rule was that they had to be round in some way. It was an awesome week of feasting for sure!

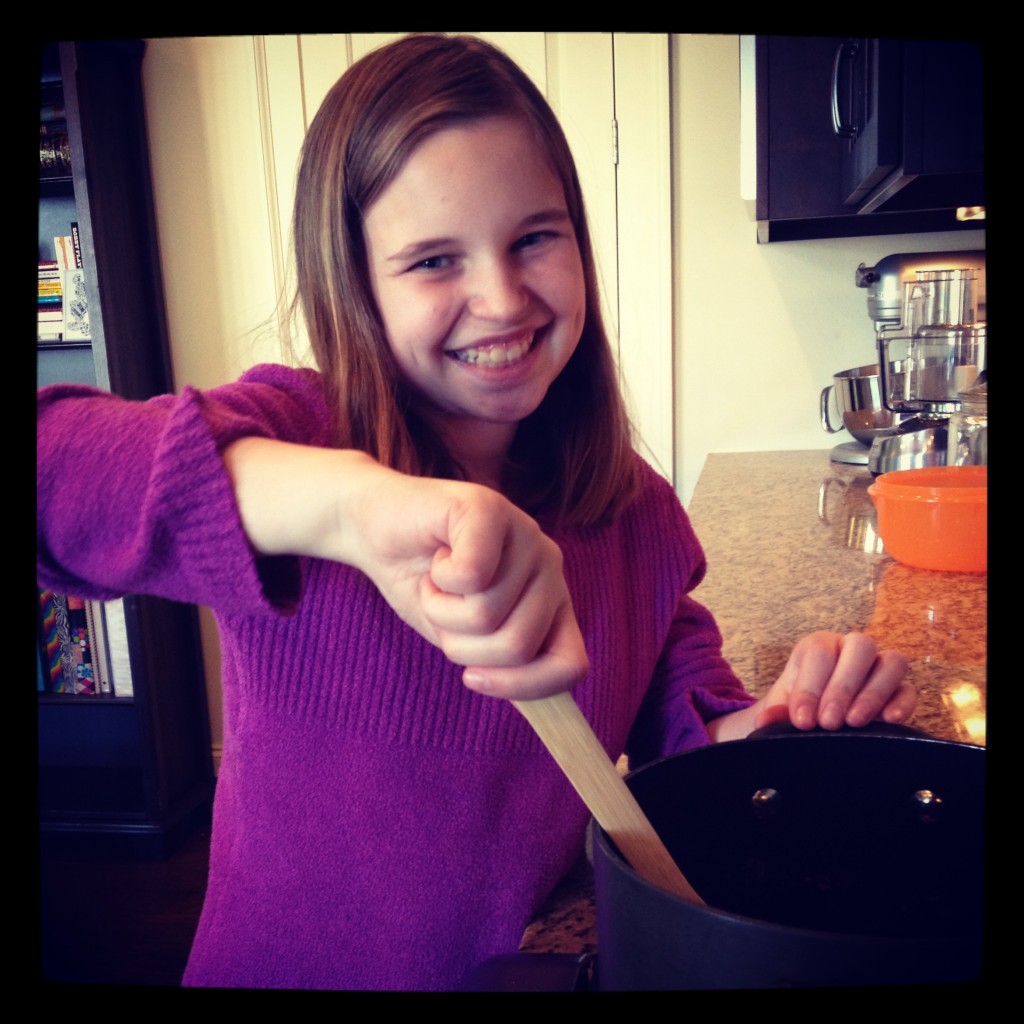
Because I love to bake (#HOHBakes on Instagram), I decided I’d do a different pie every day. This also gave me an opportunity to investigate new recipes for Thanksgiving. Because Thanksgiving = pie.

On day one, I went with the standard PUMPKIN PIE. But, I made two of them because nothing is better than a pumpkin pie than two pumpkin pies.

Pumpkin Pie - House of Hills

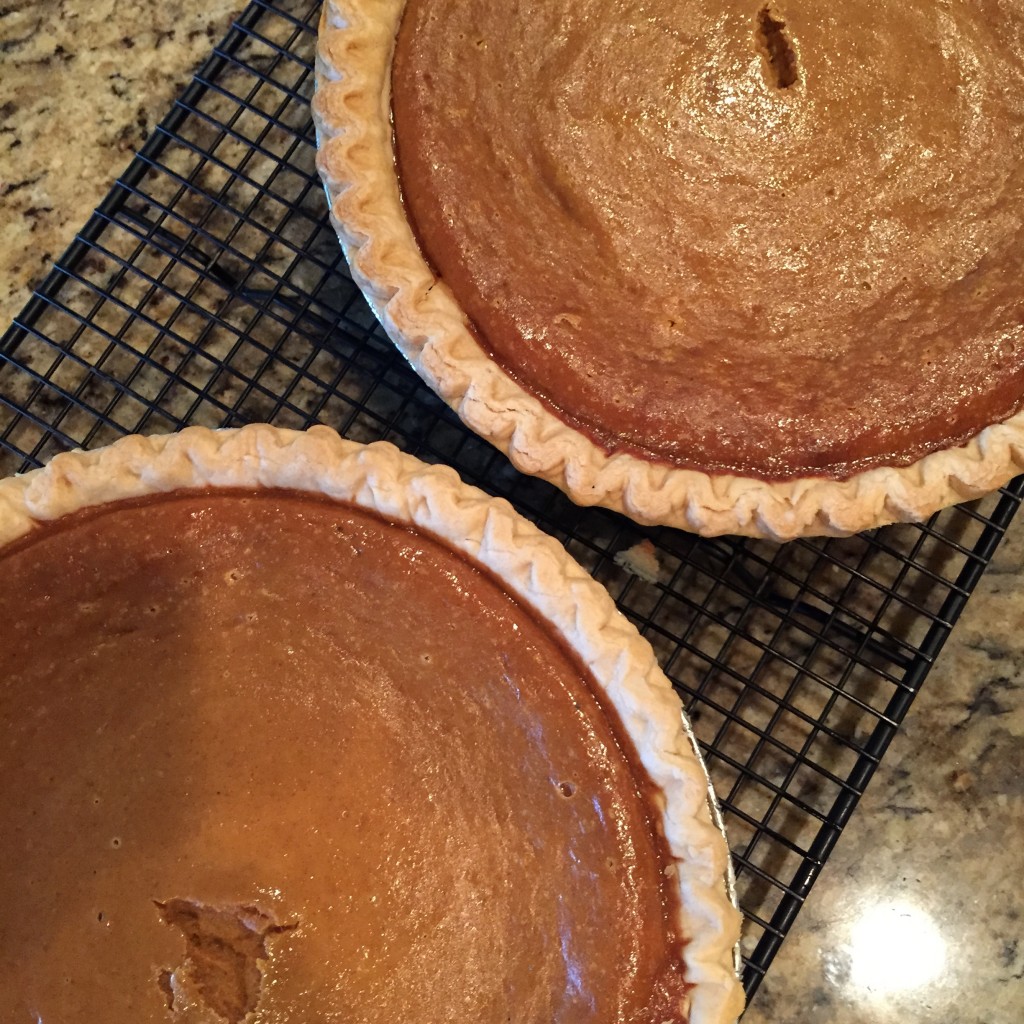
I’ve been using the same Pumpkin Pie recipe for YEARS and it’s basically the Libby one that is found on their website. You can see it here. The IMPORTANT thing about Pumpkin Pie is that you make it AT LEAST ONE DAY BEFORE you want to eat it. I actually recommend two days. That gives the flavors time to meld and become even more yummy.

On day two, I made a family favorite, SHOO FLY PIE. When I brought this one in, my coworkers from the North were very excited, but those who grew up here in the South were speculative. They’d never heard of it, and it had the word “fly” in it for goodness sakes.

Shoo Fly Pie - House of Hills

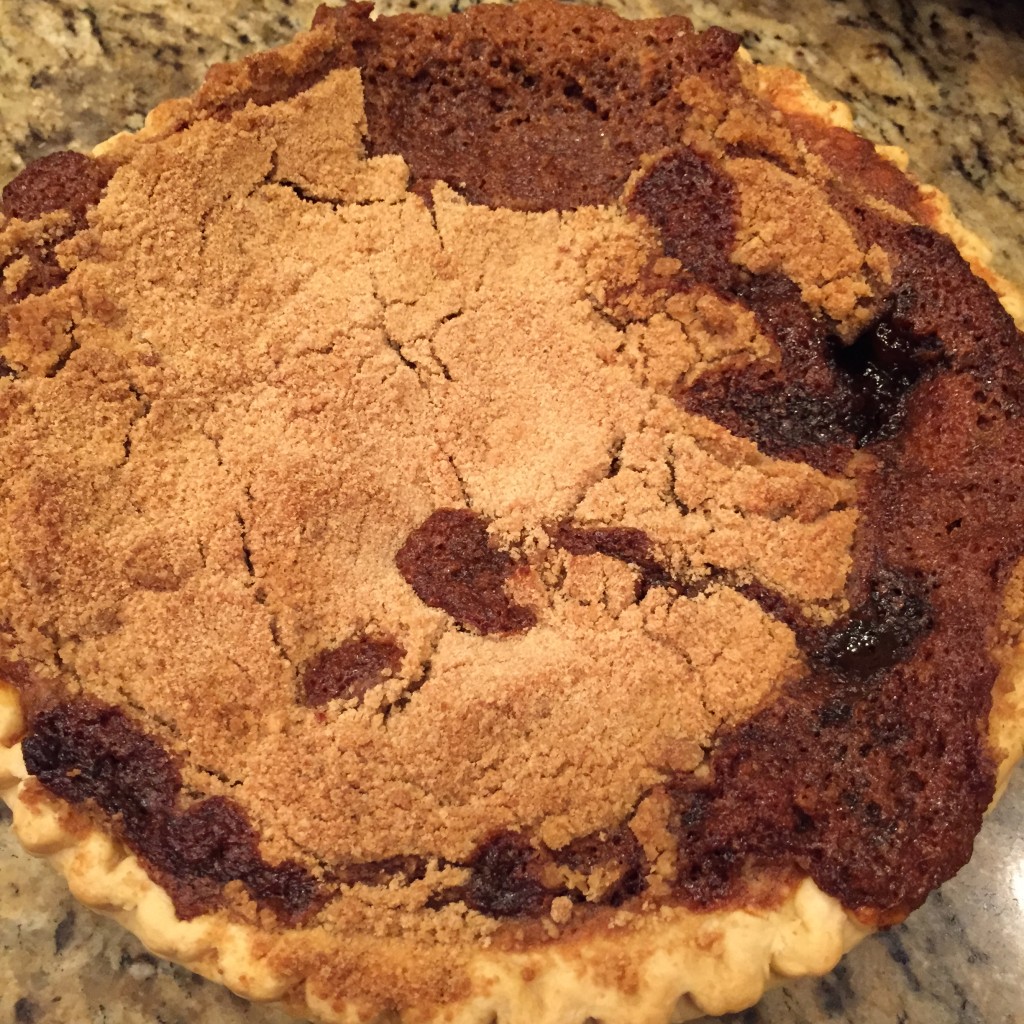
Now, I will admit that I’ve never made a Shoo Fly Pie that looks as good as those of my Pennsylvania Dutch extended family, but that’s never stopped anyone from eating it. Shoo Fly Pie is basically a molasses pie, and IT IS GOOD! I can’t give you the recipe (’cause it’s my Grandma’s), but if you do a web search for “Shoo Fly Pie” you’ll find a plethora of recipes.

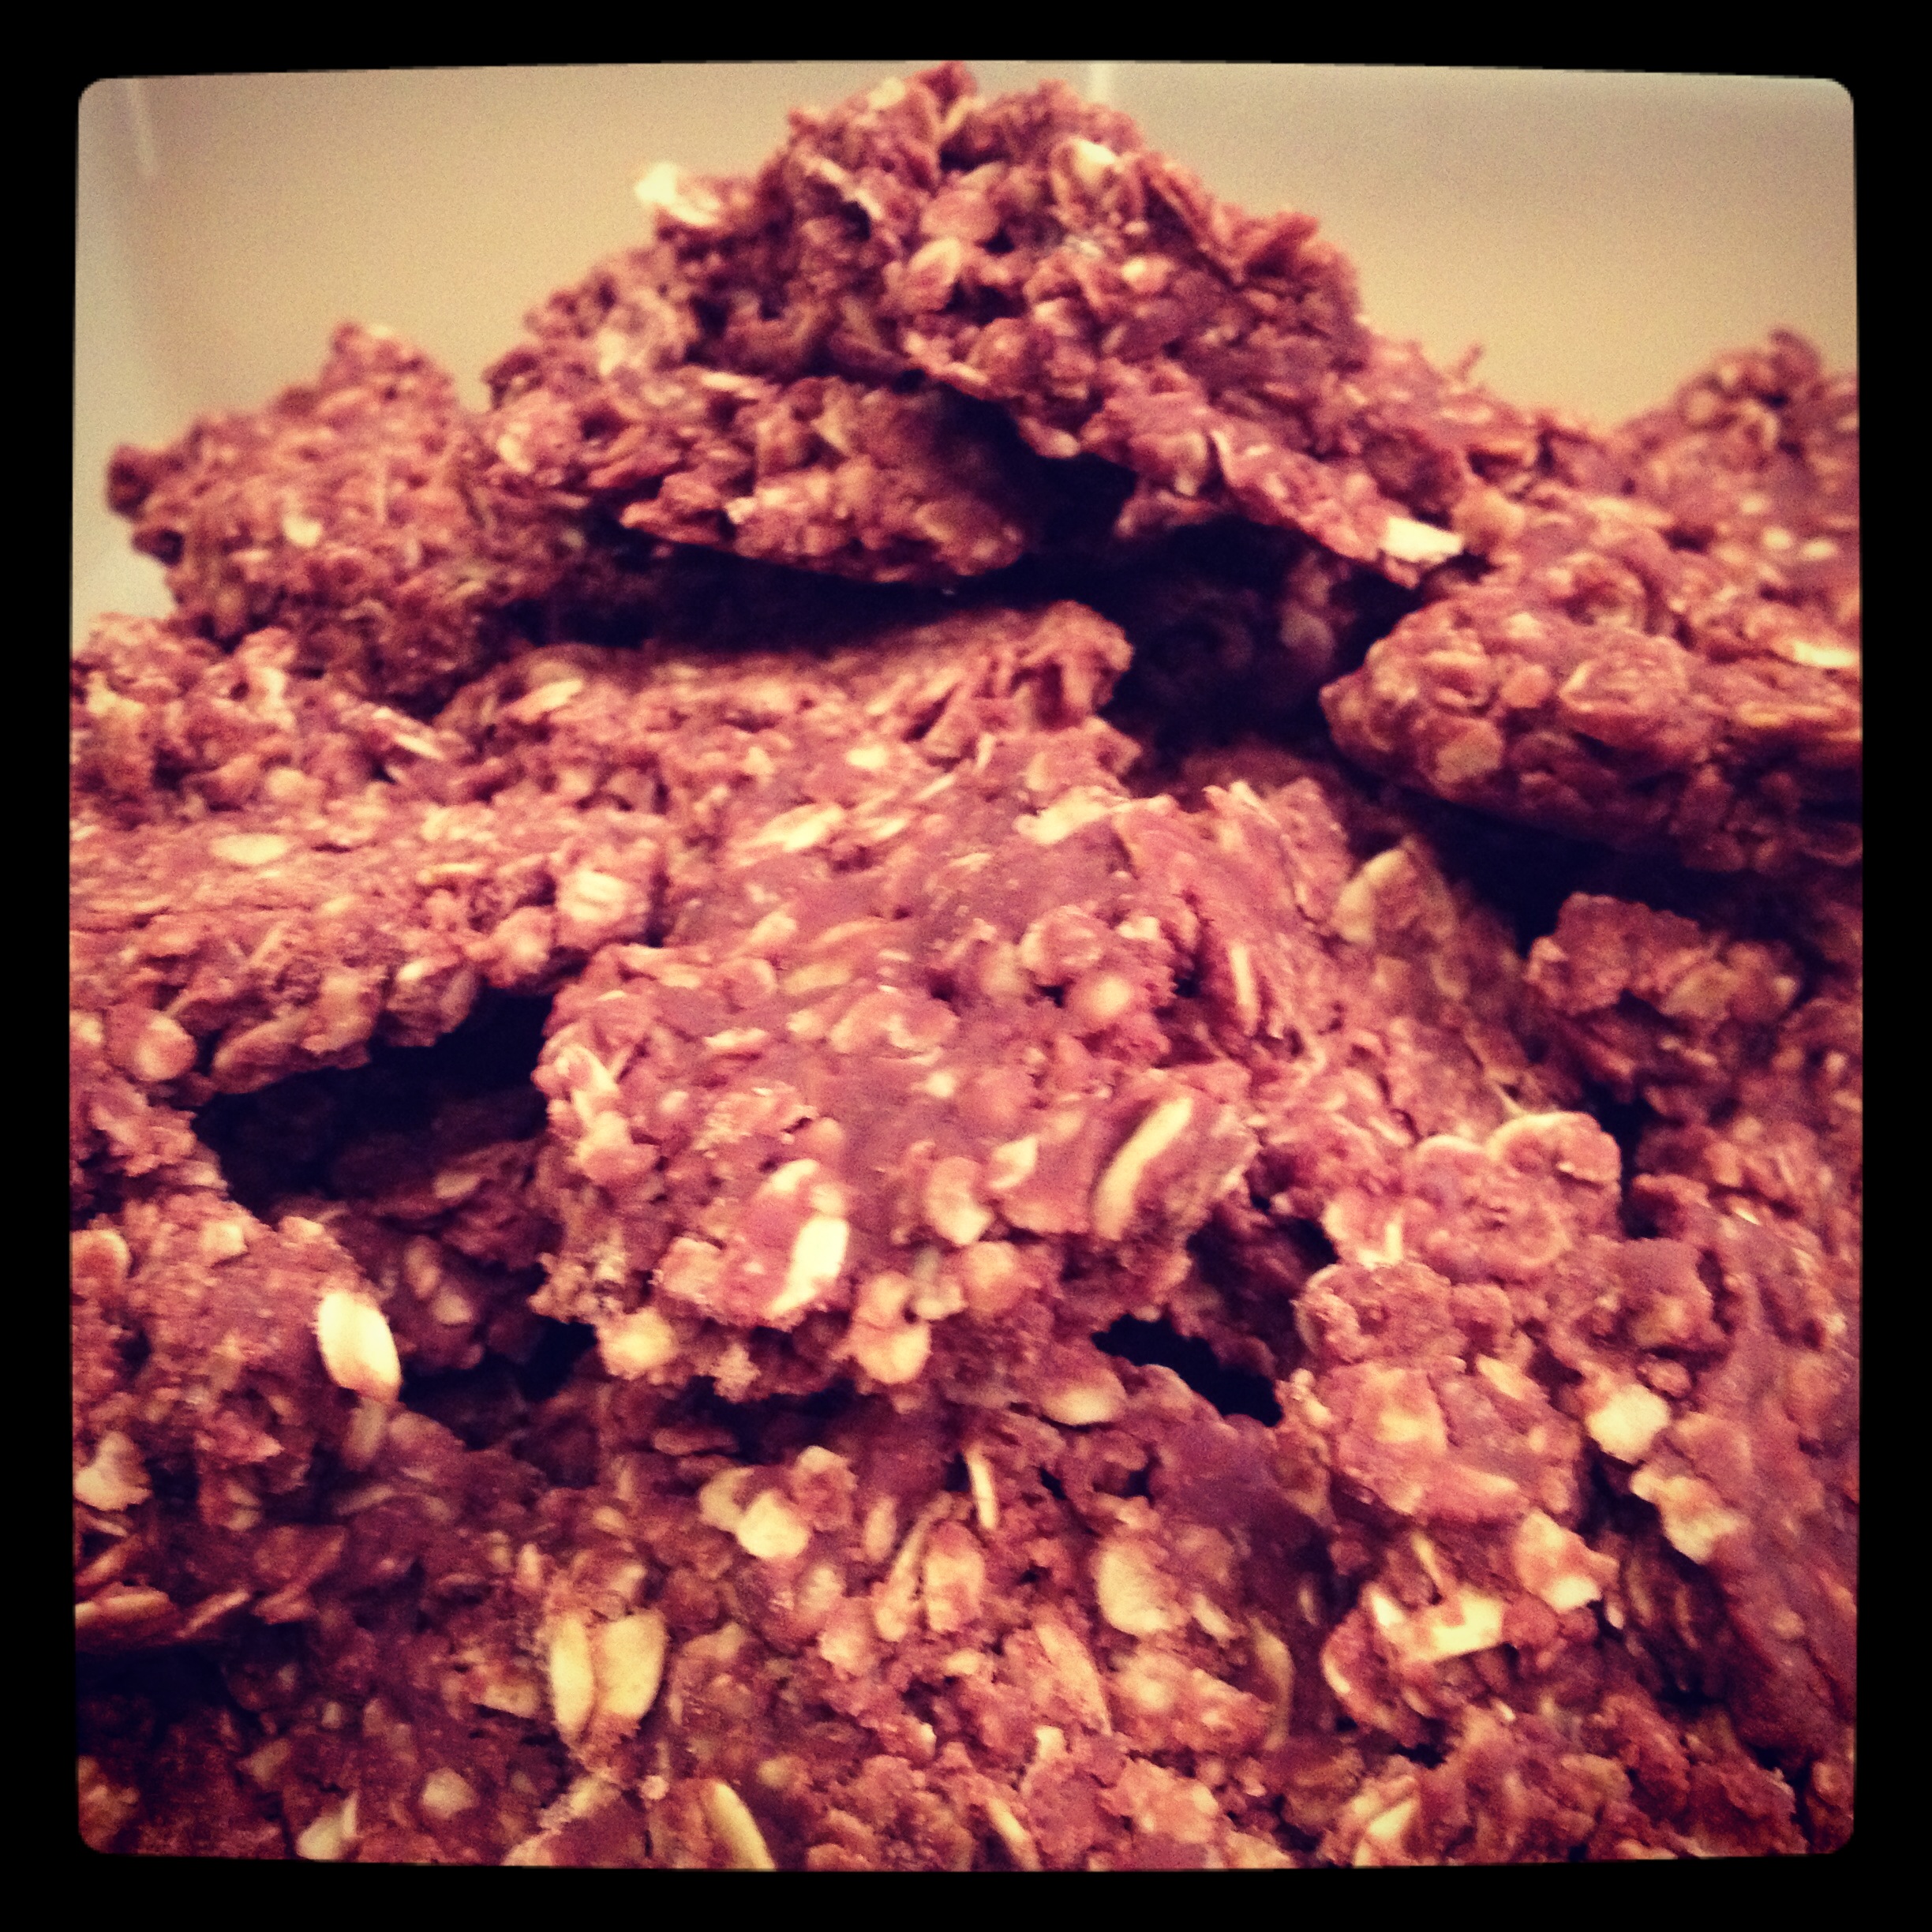
For day three, I went to Pinterest to find something new to me. I decided to make Brownie Pie, and was very happy with my choice. So were my office mates. This one went fast.

Brownie Pie - House of Hills

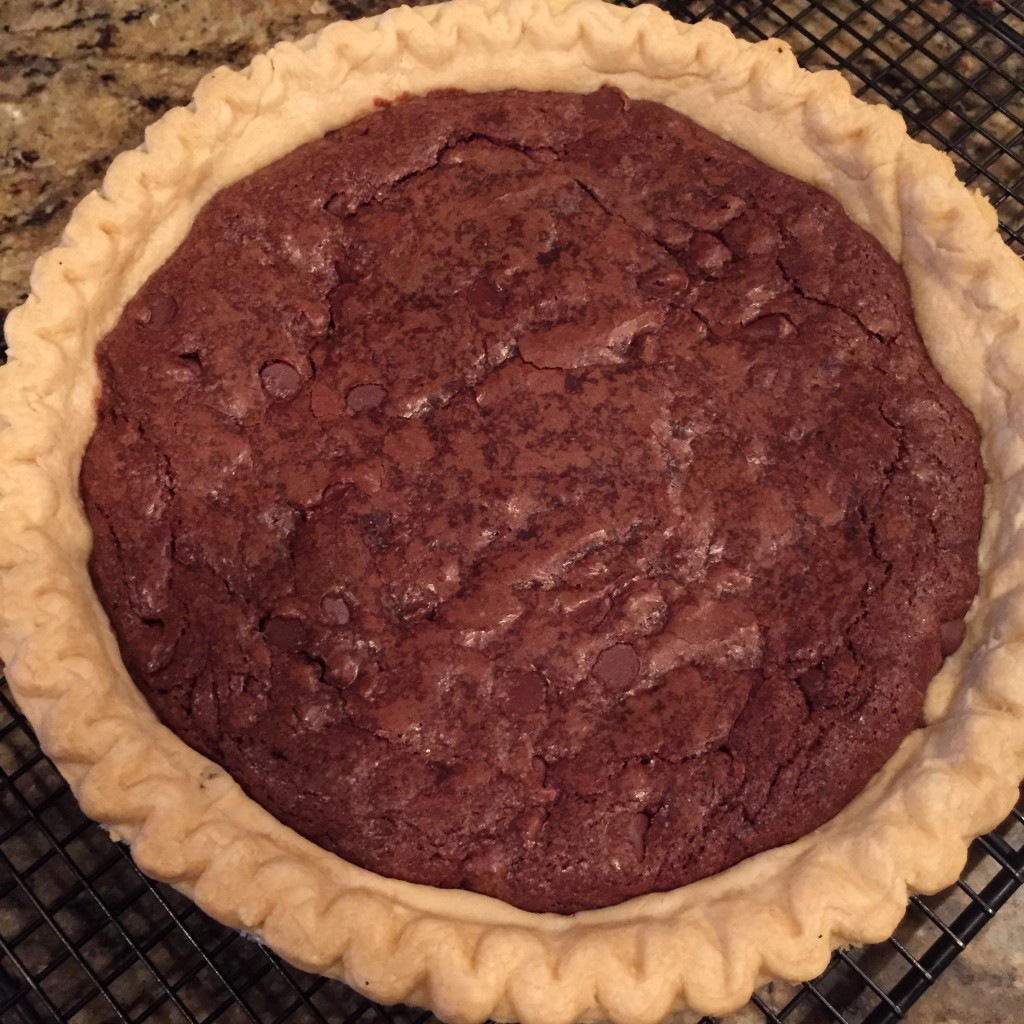
This recipe was SUPER EASY and very yummy. It was even better with some whipped cream on top. I’m pretty sure it’s going to show up at Thanksgiving this next year.

On the final day of Pie Week, I decided to go big. I went for Smore’s Pie. This one hit it out of the park! OH. MY. WORD.

Smores Pie - House of Hills

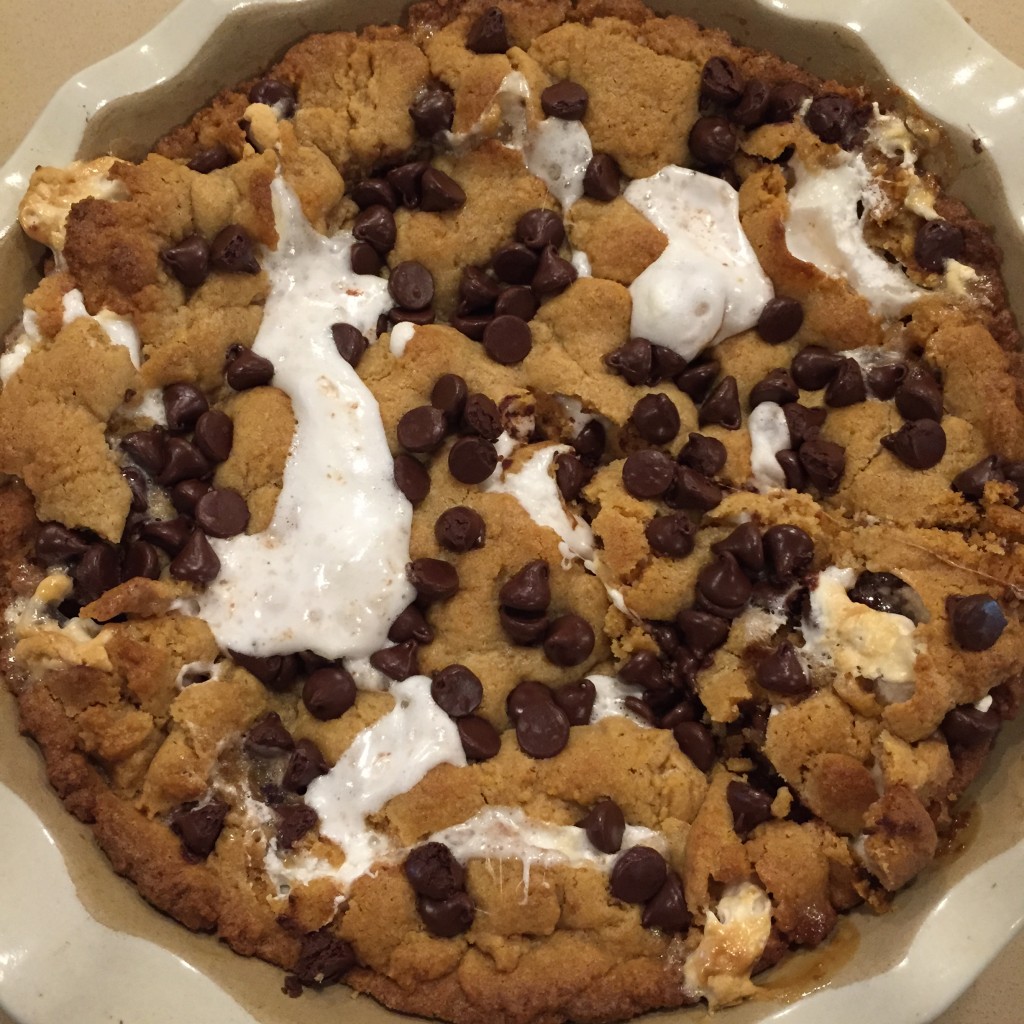
People, this pie has FIVE ENTIRE HERSHEY BARS in it. The recipe called for eight Hershey bars. I couldn’t bring myself to put in that many. I might put in at least one more next time though. I highly recommend this recipe. It wasn’t hard, but wasn’t as easy as the Brownie Pie.

Not to be outdone by all my co-workers that were bringing in savory forms of “pie” during the week, I decided to bring in a Taco Ring one day.

Taco Ring - House of Hills

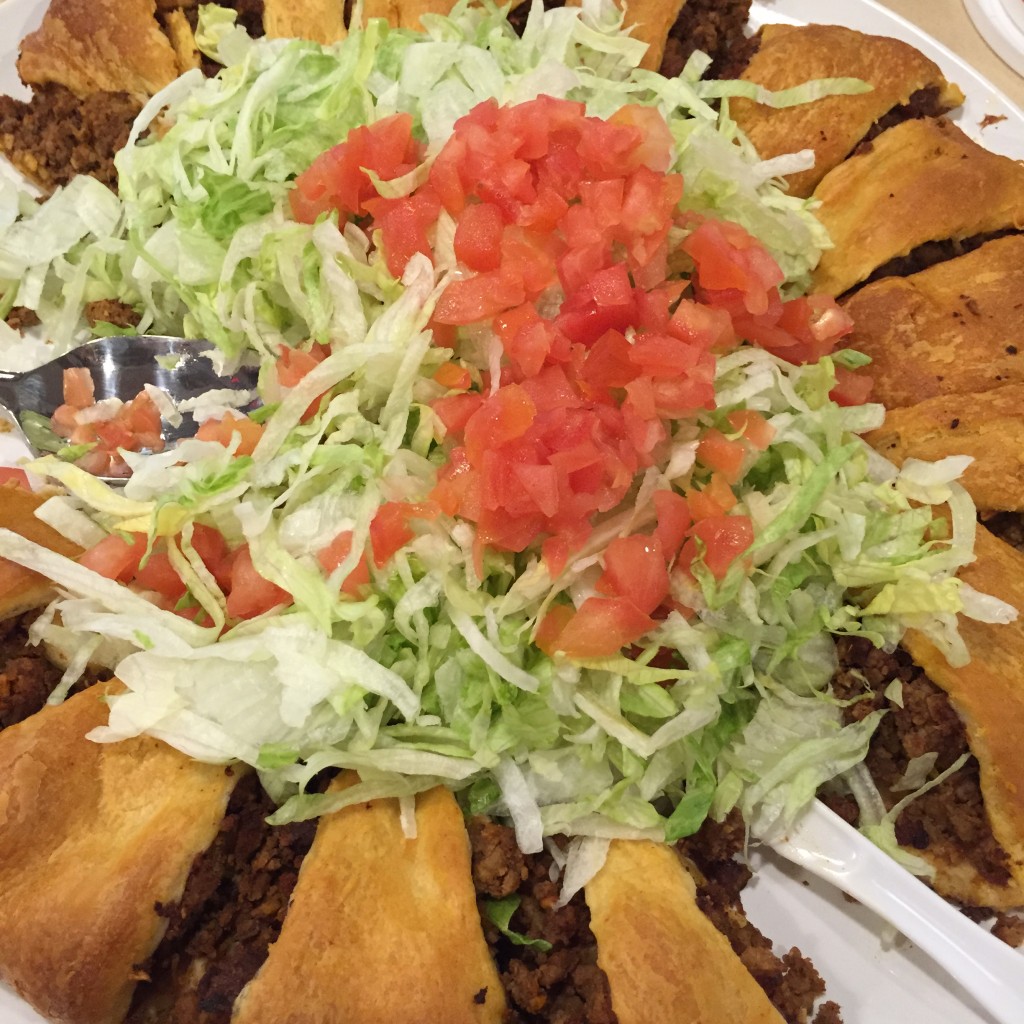
If you’ve never had a Taco Ring, you’re missing out on a quick, tasty dinner. It was a classic for Pampered Chef parties when I was a consultant YEARS ago, but sadly has gone out of style. Everyone at the office enjoyed it, and this recipe might be a great addition to your dinner rotation.

Did you celebrate Pi Day? What did you have?

Pinterest Recipes – The HOH Test Kitchen

I’ve turned my kitchen into a test kitchen as of late. The HOH Test Kitchen if you will. I’m testing different Pinterest recipes to see if they’re really as good as people say they are. I mean who are these people telling me something’s good on Pinterest? They’re usually not anyone I know.

Actually, what’s happening is that we’re getting into Orange season, and I’m a stress baker. I’m often a stress eater as well, but because of #HOHGetsFit I’m trying to avoid the whole eating thing. So, I’m baking and then taking it to the office. And, to mix it up a bit, I thought I’d try some of those many, many recipes that I’ve pinned but never made. It’s a win-win for everyone.

I thought I’d share this week’s recipes with you. We had three winners this week that you might want to add to your “I might make this someday” board on Pinterest.

First up was Chocolate Chip Banana Bread from Princess Pinky Girl.

Banana Bread

No idea where I got this pin from, but I am thankful for whomever it is… often. I’ve actually made this a couple times before, and it has never disappointed. Never. I think the key to this bread is letting the sugar and butter blend while you pull out the rest of the ingredients. It gets nice and fluffy that way.

This bread (all five mini-loaves of it) was gone in like four hours at the office. I’m not sure it made it much past lunch.

The next night, I looked for something else that was quick and that I had all the ingredients already in my pantry. I happened to remember that I had some cinnamon chips left over from the Christmas season, and so landed on Snickerdoodle Bread from Lil’ Luna.

SnickerdoodleBread

Again, not sure how it landed in my Pinterest feed, but I’m thankful. If you like cinnamon or snickerdoodles or even just good stuff, this one is a keeper. It too was gone pretty quickly. Although, it lasted until after lunch. I think people were waiting to have their afternoon coffee before they grabbed a piece. It apparently goes very will with coffee. In fact, many people remarked that it tasted like those cinnamon crumb cakes that Little Debbie makes.

I was having a team meeting on Thursday, and my team LOVES chocolate. So, I searched my Dessert Pinboard for something that would do the trick. I found something called Death By Chocolate from Renee’s Exchange.

DeathByChocolate

Now, to be honest there are like five things on my board that are called Death by Chocolate, but this one looked really easy. I’m sure I’ll try the others at some point.

In this recipe, you can choose to use yellow box cake or chocolate. I used devil’s food box cake mix because that was what was in my pantry.

This also did not disappoint. I’m not sure I “died,” but it was pretty good. If I make it again, I’ll use a full 8oz of sour cream I think. It could have been just a bit creamier, but I was the only one who thought that. Everyone else that ate it in my living room “died.” It didn’t make it to the office until later in the afternoon so there was still a bit left today. It will be gone soon though.

Three Pinterest recipes attempted in the HOH Test Kitchen this week, and all of them are keepers. They’re now pinned to the “Recipes I’ve Actually Used” board on my Pinterest. It’s the board with the fewest pins on it.

Have you ever had an extremely successful Pinterest recipe? Have you had a flop?

Lemon and Herb Roast Chicken

Lemon and Herb Chicken Roast Chicken at HouseofHills.org

It’s snowing here at the House of Hills. Yes, I said snowing. In Georgia. An anomaly to be sure. When it snows, I cook hearty meals. Last night was Chocolate Chili, and tonight I made Lemon and Herb Roast Chicken. When I posted a picture, I got immediate requests for the recipe. So, here you go!

To be honest, I jumped off a recipe for Roast Chicken from Tastes Better From Scratch. However, I had to tweak it to make it Low FODMAP for Maggie. That meant eliminating the butter and onion. Onion is a hard one to eliminate because there is so much flavor there. So, I had to think about how to bring the flavor. This is where I landed.

I layered the bottom of the pan with celery and carrots that had been in my freezer. I pulled them out a couple hours before prep time so they could thaw. I throw all my carrots, celery and peppers left over from veggie trays into freezer bags and toss them in the freezer. I read that on the Internet somewhere. The idea is to then use them to make broths and such because you’re not going to eat them so it doesn’t matter if they’re mushy. I knew we weren’t going to eat the celery and carrots, so I figured using the frozen was okay.

Then, I sliced a whole lemon into rings and laid those on top of the veggies. I love lemon rings don’t you? They’re so pretty and remind me of summer.

After that, I filled the cavity with another lemon I’d quartered and full sprigs of herbs. (I used rosemary and thyme.) And, I didn’t do that gently. I like just shoved whole sprigs in there with the lemon. Poor chicken.

Finally, I rubbed the chicken with melted ghee combined with chopped herbs and sprinkled it with salt and pepper. Oh, and I threw a few more sprigs of herbs and some parsley around the chicken in the pot. Ghee is this really expensive stuff that I’ve never bought before. I bought for Mags at Sprouts because I wanted to make sure I had the flavor of butter without any lactose or chemicals. This is the first time I’ve used it, and it appeared to be happiness all around. No tummy aches and a delicious flavor.

Then, I baked for about an hour and twenty minutes at 425. You want to bake until juices run clear and it has a nice brown, crispy skin.

LemonandHerbChicken_01

IT WAS DELICIOUS and a hit with Maggie, which is a huge thing.

This is what the pot looked like after I pulled everything out of the chicken.

LemonandHerbChicken_02

I ended up putting all of that in the trash. But, the chicken that was in that pot. That, we devoured. There wasn’t that much left!

Here are your step by step instructions for Lemon and Herb Roast Chicken.

Ingredients:
1 Whole Chicken (3.5 to 4.5 pounds)
Celery and carrots for flavor (can be frozen)
2 Lemons
Several sprigs of fresh Rosemary
Several sprigs of fresh Thyme
Fresh Parsley
1-2 Tablespoons Ghee/Clarified Butter (Or butter)

Directions:
1. Preheat oven to 425 degrees.
2. Rinse the chicken and remove the innards. Pat dry.
3. Remove the leaves from one sprig of rosemary and one sprig of thyme. Chop them up as fine as possible.
4. Melt ghee/butter and mix in the chopped rosemary and thyme.
5. Slice one lemon into rings and quarter the other.
6. Line the bottom of your baker with celery and carrots. (Spray first if needed in your type of pan.) Layer the rings of lemon on top of that.
7. Place your dry chicken on top of the lemon, celery and carrot. The breast side of the chicken should be up.
8. Stuff the cavity of the chicken with the quartered lemon, rosemary and thyme sprigs and a small amount of fresh parsley.
9. Rub the outside of the chicken with the ghee/butter and herb mixture. Get some under the skin if possible.
10. Sprinkle with salt and pepper.
11. Place additional sprigs of rosemary and thyme as well as parsley around the chicken.
12. Roast uncovered in oven for 1 hour and 20 minutes or until skin is golden brown and juices run clear. Allow chicken to rest 10-20 minutes before slicing.

Y’all this was so tasty and was great on a salad.

Enjoy!

Try the Green Stuff, It’s Delicious… sorta

There’s been much buzz on my Instagram and Facebook because of this green stuff.

GreenStuff

The biggest buzz is because as a rule I don’t eat green stuff, at least not regularly. I certainly don’t eat really good for me stuff. Ever.

However, we got a Vitamix for Christmas. I’m getting old, and not any healthier. So, add those two together, and you’ve got me trying to get more good stuff in my body.

Last week, I decided I needed to whip up a batch of my Sister-in-Law’s (David’s sister) famous green smoothie. I first encountered this smoothie a few years ago at my Father-in-Law’s house. My SIL is so dedicated to this smoothie that she brought her Vitamix with her on vacation. Since she started drinking it (and exercising), she’s gotten in thinner and healthier. She still drinks it every day. My Brother-in-Law started drinking it, and his blood pressure went down. I’m thinking it’s gotta be good for more me.

I whipped up a batch last week after a trip to Costo had me bringing home the biggest bag of spinach I’d ever seen. I quickly realized that one batch is MUCH more than I can drink in one sitting. In fact, it makes four pint jars worth. Good grief! What was I going to do with all that smoothie!

I put one in a glass to drink, one in the fridge and two in the freezer. Then, I took my first sip. It wasn’t bad. In fact, it was kinda refreshing. I sorta liked it. I drank the whole glass and wasn’t gagging.

The next day, I took one to work. I got it down again. And, kinda liked it. I pulled the two out of the freezer. I took one to work on Friday for lunch. I actually looked forward to drinking it. Looked forward to it!!

Green Stuff www.houseofhills.org

So, today, I whipped up two batches for this week. The majority is in the freezer. One is ready for tomorrow’s lunch. I’m not really sure I know what to do with that. What’s happening to me???!!!

Below is the recipe I’ve been using. There is no real exactness to it. And, I have to give credit to my SIL. And, she’s tweaking a recipe she got from someone. So, thank you to whomever that is. It’s in no way perfect. And, you can tweak it to make it the way you like it. Oh, and remember I’m using a Vitamix, which can chew up whole lemons. You’d have to adjust to your own equipment.

Step One

  • 2 cups water
  • Cilantro – I used a third a bunch from Publix
  • Kale – a handful
  • Spinach – all the way to the top

Blend that until smooth.

Step Two

  • Banana – SIL says frozen, I use regular
  • Apple – quartered
  • Pear – quartered
  • Lemon – yellow peel removed
  • Ginger – a peeled chunk of root
  • Fill with ice to the top

Blend until smooth. I use the “Smoothie” setting on the Vitamix.

Pour into four mason jars. I use the freezer safe ones.

Let me know if you make it and like it. And, if you make tweaks!


Time for Cookies

IMG_9026

That’s my girl.

This afternoon, she decided she wanted to make cookies. But, she didn’t want any help. So, she grabbed the iPad and looked up “No Bake Recipes.”

She landed at Shugary Sweets’ “Nutella No Bake Cookies.” Had you at Nutella right. Seriously, what is it about Nutella? Why is that stuff so yummy? So so yummy…

Sorry, got sidetracked by the Nutella. So, this afternoon…

I didn’t know that was what she was doing at first. I thought she was playing Minecraft and all of the sudden I start getting these questions.

Mags: “Do we have any whipping cream?”
Me: “No.”
Mags: “Do we have any Nutella?”
Me: “Yes.” (Like duh, what house doesn’t.)
Mags: “Do you like Nutella?”
Me: “Yes.” (I’m not sure why this question was even asked.)
Mags: “Okay. I’ll make these.”
Me: “Huh, what are you doing?” (I’m thinking at this point I needed to look up from the emails I’m frantically sending off to coworkers.)

When I finally did emerge from my email haze, I see ingredients on the counter and a decision being made on the size of the pot needed.

I jumped in.
But, I wasn’t really wanted.

See, she had looked up no bake recipes so she could do it herself. She wanted it to be all her idea and execution. From beginning to end.

So, I stood by. I watched and advised.
And, I waited for her to ask for help.
I waited for her to need me instead of jumping in and just doing.

Let me tell you. It was hard.
I’m a doer. I’m a let’s get it done and move to the next thing kinda gal.

However, that’s not what she needs right now. Not only in making cookies, but in life in general.

What she needs right now is to go it on her own, but know I’m there to help. She needs to try new things, fight her battles, make her choices… all by herself.

We’re moving into the coaching role of parenting here at the House of Hills. We’ve laid the foundation. She knows how to make good decisions. She knows what questions to ask. She knows what things are going to hurt her. Now, she needs to move forward with that knowledge and begin the task of going it on her own, with us just here to guide.

So, that’s what I did tonight with the cookies. I guided. I suggested. I bit my tongue when it wasn’t exactly the way I would do it.

The result.

IMG_9030

Some pretty awesome cookies… All ready to share with her cousins on Saturday.

Are you in the coaching role of parenting yet? Any tips?

Recipe : Hot Cocoa Mix

I was making another batch of Hot Cocoa Mix today and realized that I have NEVER given all of you the recipe! What? A travesty of utmost proportions. I shall now remedy that.

What you need:

  • Nesquick (21.8 oz)
  • Lite Non-Dairy Creamer (22 oz)
  • Nonfat Dry Mix (what would make 9 quarts of milk) – I get the 10 pouch pack and use 9 of them.


Pour all of that into a BIG mixing bowl and stir. This is a great activity for little people once they’ve learned not to flip things out of the bowl. The girl usually does this part for me now. Actually, she can do the whole thing.


Then, pour it into whatever airtight container you would like to store it. I keep ours in a big glass jar on the counter. Yummy!

To use, fill your cup 1/3 full of mix and the rest with hot water. All the dry milk and creamer make it taste like you’ve been stirring warm milk on the stove. Oh so good!

This is also a perfect (and easy) gift for the holidays. Put some in a baggie and put it a cute mug. Or, layer it in a small jar with some marshmallows. I’ve given it to people every year.


Do you make your own Hot Cocoa Mix or do you buy it at the store?


Recipe : Taco Soup

You know those days when you need to make an easy meal for a group, maybe it’s your Bible study group or friends to watch a game… those days when you want to just throw something in your crock pot and walk away.

Those days are PERFECT for Taco Soup.


TACO SOUP

  • 2 lbs ground beef cooked (I tend to use a bit more)
  • 2 cans Ranch Style beans
  • 1 can petite diced tomatoes
  • 1 can tomato sauce
  • 1 can shoepeg corn
  • 1 can Rotelle (I use original)
  • 1 package taco seasoning mix
  • 1 package buttermilk ranch dressing mix
  • 1 cup frozen diced onion (you could use fresh, but why?)
  • 2 cups water

Throw it all in the crock pot. Stir. Turn it on low. Walk away for about two hours.

Alternately, you can put it in a pot on the stove and bring it to a boil. Reduce heat and simmer about 30 minutes.

Serve with shredded cheese, sour cream, and chips. I prefer Fritos, but then I LOVE Fritos.

A couple hints about making taco soup.

  1. You can throw frozen cooked ground beef in the crock pot with the other ingredients. Then just stir it a couple times as it cooks. So, that extra beef you cooked up the other day… Grab it and go!
  2. Taco Soup freezes REALLY well.
  3. You can make this a vegetarian meal by taking out the beef (duh) and adding in some additional beans like kidney beans and black beans. Mmmmm… beans.
  4. When you buy the ingredients for this meal, buy double the cans. You’re going to be making it again… and soon.


Do you have a variation of taco soup that you like to make? Do you have another favorite soup?

Chocolate Chili


This is on of My Sweetie’s favorite recipes. He found it several years ago here, and I adapted it. I like to make it when the weather gets cooler. It certainly is that today… cooler and wetter as we’re experiencing some much needed rain.

This chili recipe is special because of these two intriguing ingredients…


cinnamon and cocoa powder.

They’re magically delicious!

Chocolate Chili
2 T. olive oil
3 medium onions, chopped
1 T. dried oregano
1 T. ground cumin
2 1/2 pounds ground meat (I use beef. The original called for turkey.)
½ cup chili powder
3-4 bay leaves
2 T. unsweetened cocoa powder
1 T. salt
½ t. ground cinnamon
1 box Pomi chopped tomatoes
4 cups chicken stock
I used 1 box Pomi strained tomatoes
1 19-ounce can small white beans, rinsed, drained
1 19-ounce can black beans, rinsed, drained
1 19-ounce can red kidney beans, rinsed, drained

Heat oil in heavy large pot–your absolute biggest one–over medium heat.
Add onions; sauté until light brown and tender, about 10 minutes.
Add oregano and cumin; stir 1 minute.
Increase heat to medium-high.
Add meat; stir until no longer pink, breaking up with back of spoon.
(At this point you need to drain if you’re using beef.)
Stir in chili powder, bay leaves, cocoa powder, salt and cinnamon.
Add both boxes of Pomi tomatoes. Mix in stock.
Bring to boil.
Reduce heat; simmer 45 minutes, stirring occasionally.

Add beans to chili and simmer until flavors blend, about 10 minutes longer.
Discard bay leaves.

You could top with sour cream or serve with corn chips or just garnish the way you like.

I have frozen this, and it works well.

What is your favorite chili recipe?


Recipe : Buffalo Chicken Dip

Yes, this amazing goodness was on my counter. Yes, it was quickly consumed by my small group. Yes, it was AMAZING! If you have never made Buffalo Chicken Dip, you are seriously missing out. Seriously!

The beauty of Buffalo Chicken Dip is that you have all the yummy goodness that is wings without the bones. And, there are chips. You can dip chips into the yummy goodness making it awesome yummy goodness. You can dip celery as well, but the chips put it over the top.

In my opinion, there are a few things that make simple Buffalo Chicken Dip even better.

  1. Use real chicken. I’ve seen recipes where you can use canned chicken. It’s not the same. It’s not as good. Use actual chicken that you have cooked and then diced or shredded. Shredded actually does better than diced as a discovered when I made it this time.
  2. Use more chicken and cheese than the recipe actually calls for. Okay, this may actually only apply at the House of Hills, but whatever meat is called for in a dip, I always increase it. Same with cheese more is better right?
  3. Use a good quality blue cheese dressing. Some people use ranch dressing. I prefer blue cheese dressing. And, I discovered that Wishbone is better than the Kraft I usually use. Gotta love just buying what’s on sale. You discover the greatest things.

Okay… on to the recipe:

  • 4 boneless, skinless chicken breasts (about 2 pounds) – cooked and diced/shredded
  • 1 (12 ounce) bottle Frank’s Hot Sauce
  • 2 (8 ounces) packages cream cheese
  • 1 (16 ounce) blue cheese dressing
  • 12 ounces shredded sharp cheddar, Monterey Jack or combination

Preheat oven to 350 degrees.

In a 13 by 9 inch pan, combine the shredded chicken meat with the hot sauce , spreading the to form an even layer.

In a large saucepan over medium heat, combine the cream cheese and blue cheese dressing, stirring until smooth and hot. Pour the mixture evenly over the chicken.

Bake uncovered for 20 minutes, then sprinkle the shredded cheese over the top and bake uncovered for another 10 minutes. Let stand 10 minutes before serving.

Serve with scoop Fritos and celery sticks.

Let me tell you. If you want to make a group of people (especially men) happy, serve this at your next gathering. People will worship the ground you walk on. They will praise your name.

Enjoy!

Linked to Mouthwatering Monday.

Slow Cooker BBQ

I’ve been wanting you share this one with you for awhile. I just keep forgetting!! The pictures are even from my old house. Ya, I don’t miss those counters. I LOVE my new counters…

I digress… You want the recipe.

Gather your ingredients:

Chop up your pork loin into cubes and place in your slow cooker.

Dump everything else in on top.

Let cook on low for 8 to 10 hours. Stir every once in awhile.

Once it’s done, use two forks to shred all the meat and then add your favorite BBQ sauce until its the consistency and taste you want.

To freeze, let cool and then use the purple cup method to fill quart freezer bags. Add additional sauce to the bag as desired.

This is so yummy! A girlfriend brought it to a small group several years ago, and it has become a House of Hills staple. I grab pork loins when they are on sale, make some and freeze it.

Slow Cooker BBQ

  • 1 pork tenderloin package (2 loins) – cut into 3″ pieces
  • 1 packet dry onion soup
  • 1/2 cup ketchup
  • 1 tsp dry mustard
  • 1 tbsp Worcestershire sauce
  • Your favorite BBQ sauce to taste

Combine the first 5 ingredients in slow cooker. Cook on low all day (8-10 hours) or high for 5-6 hours. Then, shred pork with 2 forks and add BBQ sauce to taste.

We typically serve it on buns. However, I’ve put it on a baked potato, and it was divine. I’ve thought of making nachos with it too.

Enjoy!